Most people mow in the same direction every time, never sharpen their blade, and wonder why the lawn looks streaky and stressed by mid-summer. The mower takes the blame — it's almost never the mower. It's the blade, or the pattern, or both. Good news: proper mowing technique takes about two minutes to learn and the results show up immediately. This guide covers blade sharpness, pattern rotation, clipping management, and edge finishing.
The single most important thing you can do before mowing is check your blade. A dull blade tears grass instead of cutting it. Torn tips turn brown, provide entry points for disease, and make the entire lawn look dingy. Sharpen your mower blade at least twice per season — or pay someone to do it. It costs $10 and makes a visible difference.
Blade Sharpness: Why It Matters More Than Anything Else
A sharp blade makes a clean, slanted cut through the grass blade. The tip seals quickly, the wound is small, and the grass recovers within hours. A dull blade shreds and tears the blade tip into a ragged fringe. That fringe desiccates, turns tan or brown, and the lawn looks "dull" or "brownish" even on healthy grass.
Over a full season of dull-blade mowing, the cumulative wound stress is significant. The grass spends energy repairing torn tissue instead of building root mass or storing carbohydrates. Disease pressure increases because ragged wounds are larger entry points for fungal pathogens.
The test: run your fingernail along the edge of the blade (with the mower off and the spark plug disconnected, obviously). Sharp blades have a clean edge you can feel. Dull blades are rounded, nicked, or visibly bent. Sharpen at the beginning of the season, once mid-season, and any time you hit a hidden rock or root.
The One-Third Rule in Practice
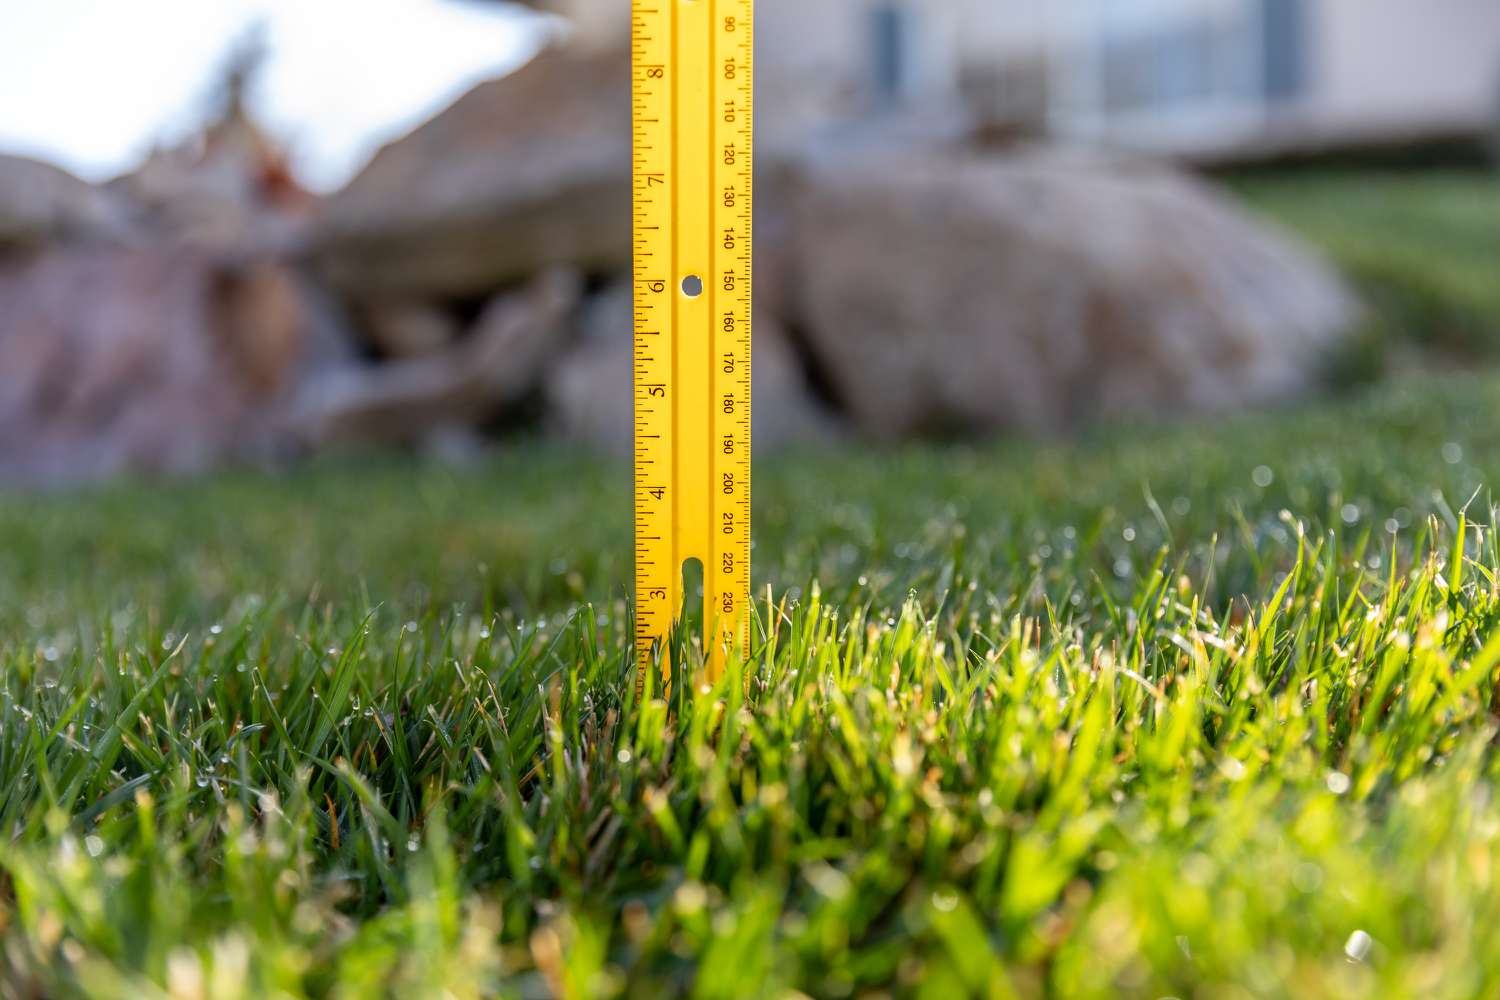
You've likely heard this: never remove more than one-third of the blade in a single pass. The principle is that removing more than one-third triggers a recovery response that redirects energy from roots to leaf replacement. The lawn can recover from this once or twice, but repeat it consistently and the root system permanently shallows.
The practical implication: if you maintain your lawn at 3.5 inches, mow before it reaches 5.25 inches (3.5 × 1.5 = 5.25). In spring, when growth is fast, this may mean cutting every 5 days. In summer, it may mean every 12 days. The schedule follows the grass, not the other way around.
Mowing Direction and Pattern Rotation
Mowing in the same direction every time creates a problem called "grain" — the grass leans consistently in the direction of travel. Over time, this leads to uneven growth patterns and soil compaction tracks where the mower wheels repeatedly run over the same lines.
The fix is pattern rotation. Each mow, change direction by 90 degrees or alternate between diagonal and straight-line patterns. Here are the main approaches:
Straight Lines (Stripes)
Standard stripes are the most common pattern. For a clean stripe, overlap each pass by about 3 to 4 inches to avoid missed strips. Mow to the edge of the lawn, lift the deck slightly to turn (or use a zero-turn mower), then come back in the opposite direction. The key: keep your lines parallel. Use a fixed reference point at the far end of the lawn to stay straight.
Diagonal Stripes
Mowing at 45 degrees to the lawn edges gives a different aesthetic and — more importantly — covers slightly different grass blade angles each time. Alternate between diagonal left and diagonal right on successive mows.
Circular / Spiral
Less common for residential lawns, more common for complex shapes. Start at the perimeter and mow inward in a spiral, or start in the centre and spiral outward. Works well for oddly shaped lawns where straight stripes create awkward turns.
Straight → Diagonal left → Straight → Diagonal right → repeat. That four-mow rotation prevents compaction tracks and keeps the lawn standing upright rather than leaning.
Finishing the Edges
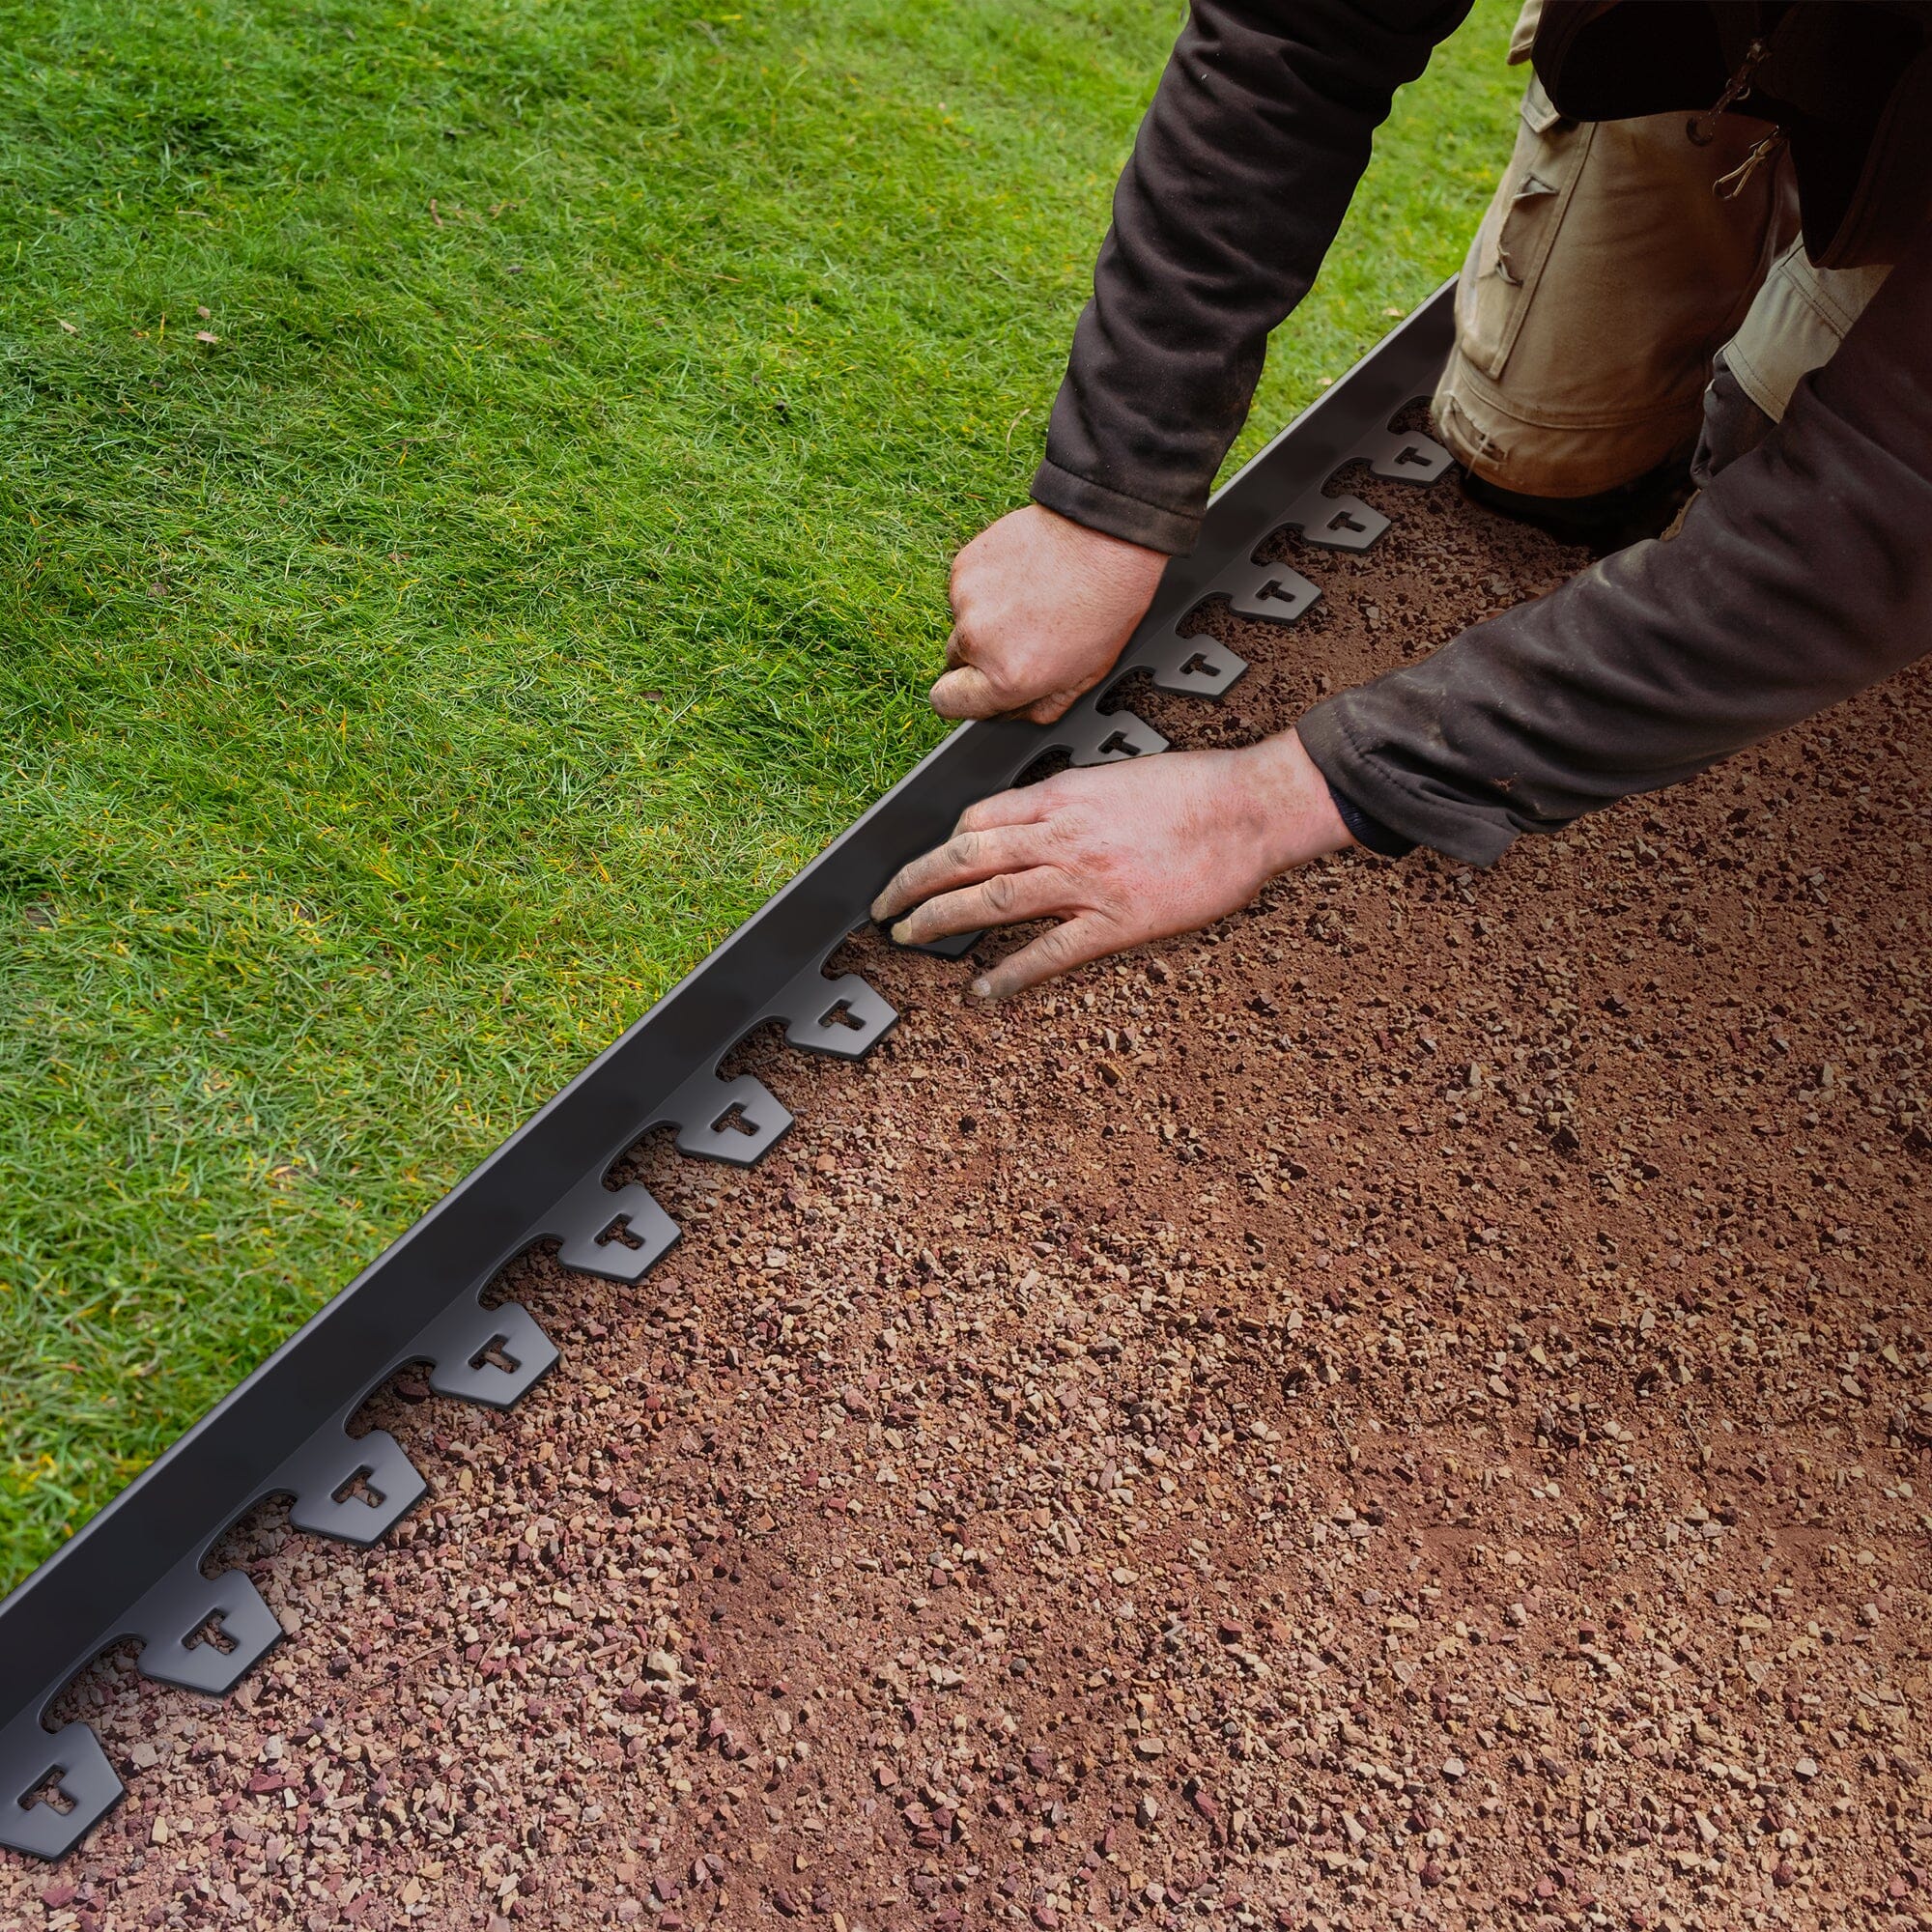
The edge of the lawn — where it meets the driveway, sidewalk, garden bed, or fence — matters disproportionately for overall appearance. A lawn mowed at 3.5 inches with clean, crisp edges looks more polished than a perfectly manicured lawn with ragged, overgrown edges.
Use a string trimmer or rotary edger to cut the border after mowing. The difference in approach:
- String trimmer (held vertically): cuts a vertical face along hard edges like driveways and sidewalks. Creates a clean defined border. Works well on established edges.
- Rotary edger (wheeled): creates a precise trench edge at garden bed borders. Better for defining bed edges than string trimmer vertical cuts.
- Half-moon edger: best for creating or redefining bed edges from scratch. More controlled than a spade.
Blow or sweep trimmings off hard surfaces after edging — they stain concrete and look untidy if left.
What to Do with Grass Clippings
Leave them. Bagging clippings from a regular mow is a waste of time — and we'll stand behind that. Grasscycling returns nitrogen equivalent to one fertilizer application per season, and the idea that clippings cause thatch has been debunked for decades. Clippings are leaf blades; thatch is woody stem tissue. They're not the same thing. Only bag if the lawn is actively diseased or you've let the grass grow far too long between cuts.
The exception: heavy clumps. If you've let the grass get long before mowing, the resulting clippings are too thick to disperse and settle in dense mats on the surface. Those mats block light, stay wet, and promote fungal disease. In that case, bag the heavy clippings. Alternatively, run the mower over the lawn twice — the second pass breaks up the clumps and disperses them.
Wet grass creates a related problem — and one of the most common causes of uneven, splotchy cuts. A homeowner in Vaughan kept getting a scalped strip in the same spot every week. Turned out he was mowing every Sunday morning right after his sprinklers ran. Wet grass bends under the mower deck, gets cut unevenly, then browns out. We moved his mow day to Tuesday. Same mower, same settings, completely different result. Wait at least 24 hours after irrigation or significant rainfall before mowing.
You do not need to bag clippings from a regular mow. The idea that clippings cause thatch is incorrect — thatch is composed of woody stem tissue (stolons, rhizomes, crowns), not leaf blades. Leaf blade clippings decompose within days.
Mowing Slopes and Around Obstacles
Slopes
Mow slopes horizontally across the incline, not up and down. Mowing up and down a slope means the mower deck tilts as the wheels dip — the blade cuts lower on the downhill side and higher on the uphill side, creating an uneven cut. Horizontal passes keep the deck level relative to the slope angle. On steep slopes (more than about 15–20 degrees), consider a walk-behind with a self-propelled drive to maintain control.
Around Trees and Obstacles
Create a small circle around tree bases by mowing in an expanding ring. Don't mow right to the trunk — the exposed roots and crown are easily damaged by blade contact and repeated mower wheel passes compact the soil around the root zone. A mulch ring around trees serves two purposes: it eliminates the mowing problem entirely and benefits the tree's root zone. Two birds, one stone.
Basic Mowing Safety
Brief but important:
- Walk the lawn before mowing to remove rocks, branches, toys, or debris — projectile hazards from rotary blades are serious
- Never work on a blade with the mower running; disconnect the spark plug first
- Wear closed-toe shoes — never sandals or bare feet near a running mower
- On slopes, keep the mower between you and the downhill side to prevent it from rolling back toward you
- Keep bystanders — especially children — away from the active mowing area
Frequently Asked Questions
- University of Minnesota Extension: Lawns & Landscapes — research-based mowing technique and turf management guides
- Lawn Mower — Wikipedia — types of mowers and cutting mechanics
Professional Results, Every Cut
A&E Lawn Care uses commercial mowers with sharp blades, proper height settings, and pattern rotation — every visit. No guesswork, no shortcuts.