Mulch is one of the highest-return investments in any Ontario garden — it suppresses weeds, retains moisture, regulates soil temperature, and gradually improves soil structure as it decomposes. It's also one of the most commonly misapplied products on the market, which is impressive given that it's essentially shredded wood. Too thin and it does nothing. Too thick and it suffocates plant roots. Piled against tree trunks, it slowly kills them. This guide covers how to do it right.
The rule of thumb
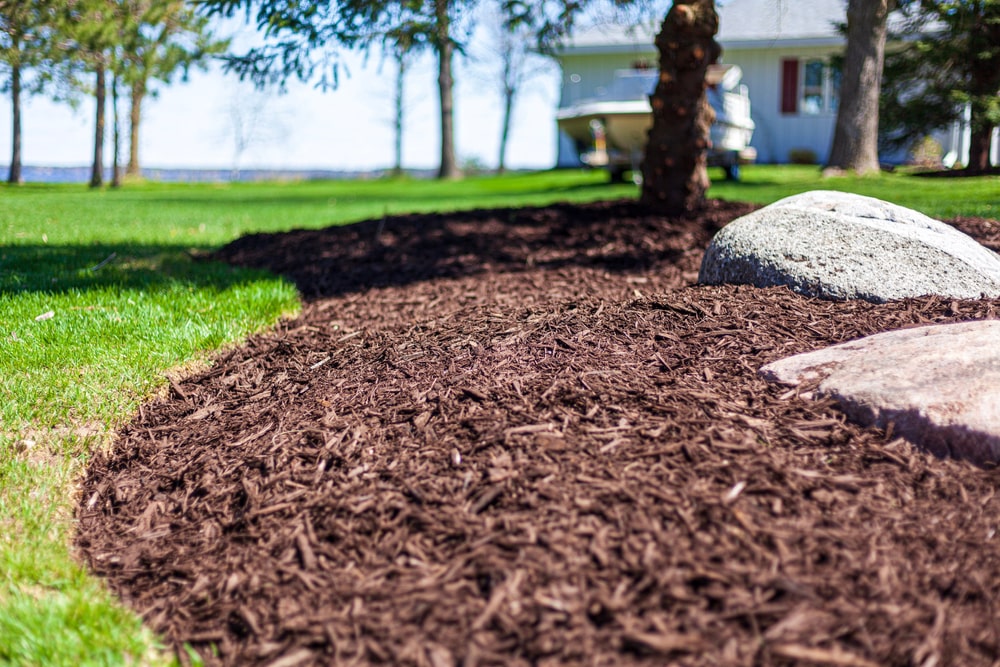
Apply mulch at 2 to 3 inches deep for established beds. No deeper. Keep mulch at least 3 to 4 inches away from plant stems and tree trunks. Refresh annually in spring to maintain consistent depth.
Why Mulch? The Real Benefits for Ontario Gardens
The benefits of mulch compound over time, which is why experienced gardeners treat annual mulching as non-negotiable:
- Weed suppression: A 2–3 inch mulch layer blocks most annual weed seeds from germinating by denying them direct light contact with the soil. Not 100% weed-free, but dramatically reduced maintenance.
- Moisture retention: Mulch reduces evaporation from the soil surface. Studies consistently show 25–50% reduction in irrigation needs in mulched vs. bare beds. In Ontario's dry July and August, this is significant.
- Soil temperature regulation: Mulch insulates the soil — cooler in summer, warmer in the shoulder seasons. This extends the growing season for perennials and moderates temperature stress on shallow roots.
- Soil improvement: Organic mulches (shredded bark, wood chips, composted leaves) decompose over 12–18 months, adding organic matter to the soil. In Ontario's heavy clay soils, consistent annual mulching gradually improves drainage and aeration.
- Erosion control: Mulch absorbs rainfall impact on sloped beds, reducing soil erosion that bare ground can't prevent.
Mulch Types for Ontario Gardens
Shredded Hardwood Bark (Most Common)
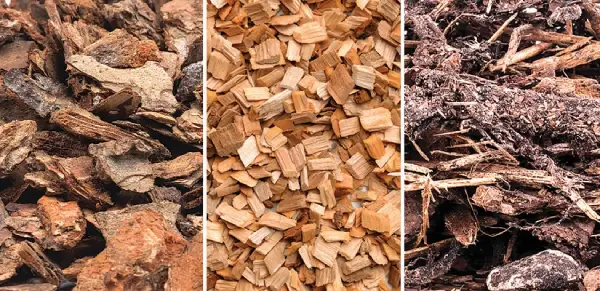
The standard choice for most Ontario residential beds. Shredded hardwood decomposes at a moderate rate (12–18 months), has good weed suppression, and produces an earthy-brown colour that complements most plant and hardscape combinations. It knits together as it ages, reducing displacement from wind and rain.
Wood Chips
Coarser and longer-lasting than shredded bark. Decomposition is slower (2–3 years), so it needs less frequent refreshing. Better choice for areas under trees where annual disturbance isn't practical. Less visually refined than shredded bark — a deliberate trade-off for utility areas or woodland gardens.
Cedar Mulch
A premium option with naturally occurring oils that resist decomposition and reportedly deter some insects. A good choice for high-visibility areas or where longevity between refresh cycles is a priority. Slightly higher cost per cubic yard than standard hardwood mulch.
Rubber Mulch
Made from recycled tires. Long-lasting, doesn't decompose, often used under play structures. Not recommended for garden beds — it doesn't improve soil, can leach chemicals into the root zone, and retains excessive heat in summer. Avoid for planting beds.
Stone / Gravel
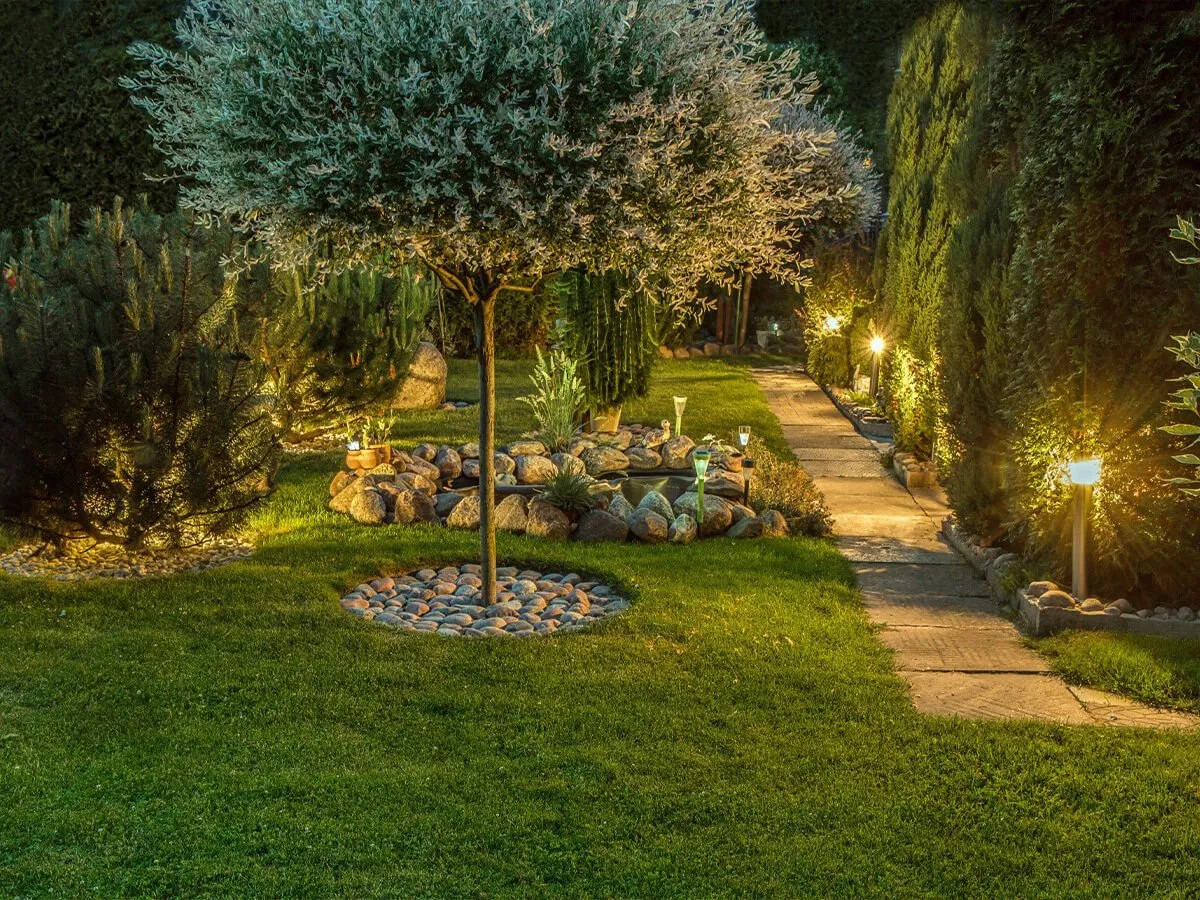
Not organic, doesn't improve soil. Useful for paths, drainage areas, and under ornamental grasses where soil improvement isn't a goal. Permanent — removing stone mulch is labour-intensive. Think carefully before installing.
How Deep to Apply Mulch
This is where most installations go wrong — either too thin to be effective or far too thick.
| Depth | Result | Recommendation |
|---|---|---|
| Under 1 inch | Minimal weed suppression; dries out fast; marginal moisture retention | Not worth the effort — too thin |
| 2–3 inches | Excellent weed suppression; good moisture retention; proper decomposition rate | Target depth for most beds |
| 4–5 inches | Creates anaerobic conditions; blocks gas exchange with soil; root suffocation risk | Too deep — avoid |
| 6+ inches | Plant stress and death; creates "mulch volcano" conditions around trees that invite rot and pests | Actively harmful |
"Mulch volcanoes" kill trees slowly
Piling mulch high against tree trunks is the single most damaging mulch mistake in Ontario residential landscaping. Bark against mulch stays permanently moist, creating ideal conditions for fungal rot and bark decay. It also draws burrowing insects and voles that girdle the trunk from underneath. Keep mulch at least 4 inches back from the trunk and no deeper than 3 inches total.
We've seen the damage firsthand. A homeowner in Richmond Hill called us to redo a front garden bed — the previous company had left 6 inches of mulch piled against two ornamental trees. The bark was already starting to rot, moisture was trapped against the trunk, and one tree was showing stress symptoms. We pulled it back, reduced the depth to 2–3 inches, and left a proper gap around the trunk. The trees recovered. The mulch volcano is one of those mistakes that doesn't cause immediate visible damage — by the time you notice something is wrong, it's been happening for years.
How Much Mulch to Order: Coverage Calculator
Mulch is sold by the cubic yard (or cubic metre in some Ontario suppliers). To calculate coverage:
- Measure your bed area in square feet (length × width)
- Decide on depth (2–3 inches = 0.17–0.25 feet)
- Multiply: Area (sq ft) × Depth (ft) = Cubic feet needed
- Divide by 27 to convert to cubic yards
A practical shorthand: 1 cubic yard covers approximately 100 square feet at 3 inches deep. For a 200 sq ft bed at 3 inches, you need 2 cubic yards.
Order slightly more than your calculation
Coverage estimates assume flat, level beds. Sloped areas, irregular shapes, and existing plant coverage all reduce effective coverage slightly. Add 10–15% buffer to your calculation to avoid coming up short mid-installation.
Mulch Installation: Step-by-Step
Step 1: Edge the Bed
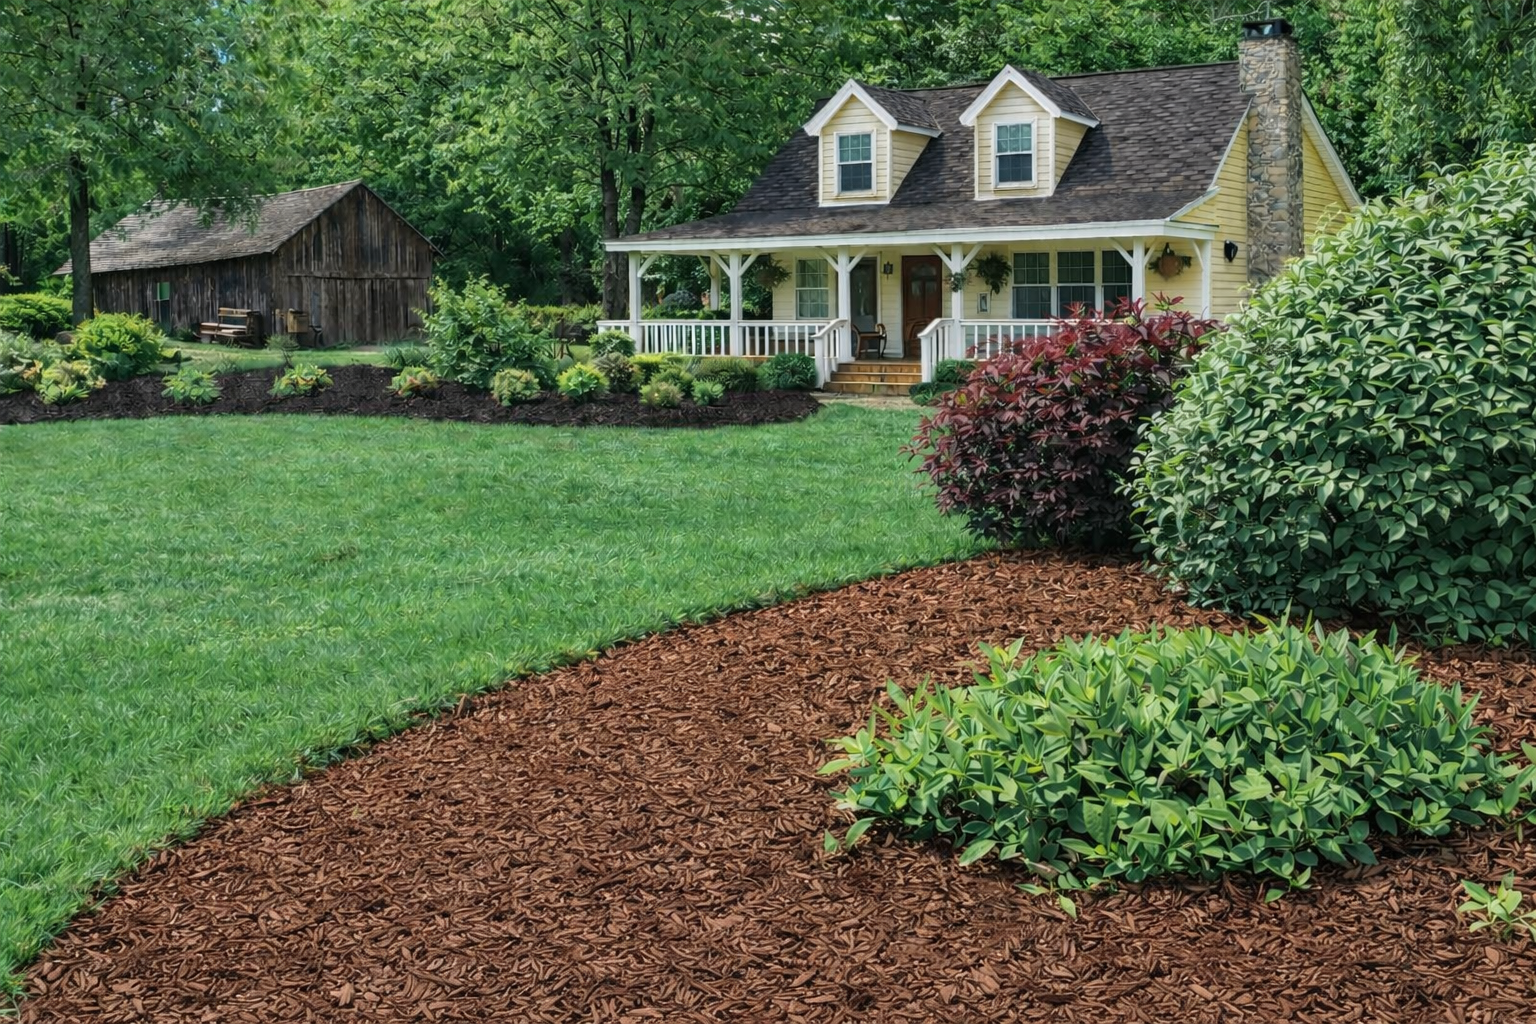
Define clean edges before applying mulch. Use a half-moon edger or rotary edger to cut a crisp trench between the lawn and the bed. This prevents the mulch from spreading onto the lawn and the grass from growing into the bed. Clean edges also make the installation look more professional.
Step 2: Remove Existing Weeds
Pull or spray weeds before applying mulch. Mulching over existing weeds can suppress new seed germination but does not kill established root systems. Existing perennial weeds (creeping thistle, bindweed, quackgrass) will punch through mulch reliably. Deal with them before you cover the bed.
Step 3: Skip the Landscape Fabric (Usually)
Landscape fabric under mulch is sold widely and recommended often — skip it for planting beds. For most ornamental beds, it's counterproductive within three seasons. Organic mulch decomposes on top of the fabric and creates a perfect layer for weed seeds to germinate. The fabric, now buried, blocks root expansion of your own plants. When we inherit beds with landscape fabric from a previous install, the first thing we remove is the fabric. Paths and gravel: yes. Planting beds: no, every time.
Step 4: Apply Mulch and Spread Evenly
Dump mulch in piles throughout the bed, then spread with a garden fork or a gloved hand. Work from the back of the bed toward yourself so you're not stepping in freshly applied mulch. Maintain consistent depth throughout — use a ruler to spot-check, especially if you're new to the task.
Step 5: Keep Clear of Stems and Trunks
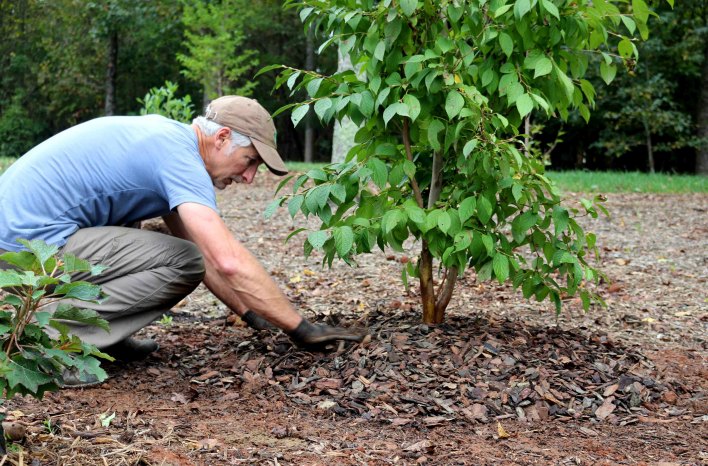
As you work around plants, pull mulch back from stems, creating a small donut-shaped clearing of bare soil immediately around each plant. For trees, keep the mulch ring at least 4 to 6 inches back from the flare of the trunk. The plant crown and stem bark need air exposure, not buried moisture.
Step 6: Water In
Lightly water the mulch after application to settle it and prevent the surface from drying into a water-repellent crust. Hydrophobic mulch surfaces (especially fine, very dry hardwood mulch) can cause rain to sheet off rather than penetrating to the soil below.
When to Mulch in Ontario
Spring is the primary mulching season — after the soil has warmed above 8–10°C but before weeds have germinated. In York Region, this is typically mid-to-late May. Applying mulch too early in spring, when the soil is still cold, insulates the cold — slowing warming and delaying perennial emergence.
A second refresh in fall is optional but beneficial for beds with ornamental grasses, perennials, or newly planted shrubs. Fall mulching protects roots from freeze-thaw cycles and gives the organic matter a head start on decomposing into the soil by spring.
Frequently Asked Questions
Only if the existing layer is still 2+ inches deep. If the old mulch has decomposed to under an inch, apply fresh mulch on top — you're just bringing it back to the target depth. If old mulch is heavily matted, has a fungal crust, or has reached the problematic 4+ inch depth, rake out and remove the excess before reapplying. Don't just keep layering indefinitely.
Mulch itself doesn't attract termites — moist conditions do. The key precaution: keep mulch away from the foundation of your house. At least 12 to 18 inches of bare soil or stone between the mulch and the foundation eliminates the most common pathway. Wood chip mulch close to the foundation in perpetually shaded, moist conditions is the scenario to avoid.
Organic mulch is better for planting beds — it improves soil as it decomposes. Stone is appropriate for permanent paths, utility areas, and under ornamental grasses where soil improvement isn't needed and a permanent solution is preferred. Stone retains significantly more heat in summer, which can stress plants in beds adjacent to south-facing walls.
Annual refresh is ideal — add 1 to 1.5 inches of fresh mulch in spring to bring the existing layer back to 2 to 3 inches total. A full replacement is only needed if the old mulch has completely decomposed (which is actually a good thing — it means it's been improving your soil) or if there's a significant pest or disease issue in the existing material.
- Penn State Extension — mulch installation best practices and research
- Mulch — Wikipedia — overview of mulching materials, techniques, and benefits
Professional Mulch Installation
A&E Lawn Care installs mulch at the correct depth, with clean edges and proper clearance around plant stems. Serving Richmond Hill, Vaughan, Markham, and Aurora.