Most landscape projects die in a garden centre parking lot. You went in with a vague idea, came out with three plants you liked the look of, put them in random spots in the front bed, and now they look exactly like three random plants in random spots. Landscape design isn't about having good taste in plants — it's about having a plan before you buy anything.
This guide walks through the actual design process: site assessment, defining zones, choosing plants that work for Ontario's climate, creating visual structure, and avoiding the mistakes that make landscape projects look unfinished two years in. Whether you're redesigning an existing yard or starting with a builder-grade blank slate, the process is the same.
- Start with function, not plants. Define how you use the space before you decide what goes in it.
- Design in layers: canopy (trees), understory (shrubs), ground level (perennials/groundcover), hardscape (paths, patios).
- Odd numbers and groupings read better than single specimens. Three of the same plant looks intentional; one looks like a mistake.
- Ontario's climate zone (most of GTA is Zone 6) limits what will survive winter — check hardiness before you buy.
- Start with structure (trees, large shrubs) and fill in from there. Never start with flowers.
Step 1 — Site Assessment: Know Your Conditions Before You Design
Every landscape design decision flows from site conditions. What grows well depends entirely on what your specific yard offers — not what looks good in a magazine. Before you touch a plant or draw a line, document these four things:
Sun exposure
Walk your yard at three points in the day — 9am, 1pm, and 5pm — and note which areas are in full sun, part shade, or deep shade. Most plants have clear sun requirements, and this one factor determines more about what will thrive than anything else. Ontario's tall houses and mature trees create microclimates even within small yards — a section that gets morning sun only is a very different growing environment than one that gets afternoon sun only.
Soil drainage
After a heavy rain, walk the yard and identify any areas that stay wet for more than 24 hours. These are drainage problem areas — they need either drainage solutions or plants specifically tolerant of wet feet. Planting standard shrubs in a drainage low spot and wondering why they die is one of the most common landscape mistakes we see in Richmond Hill and Vaughan, where drainage in newer developments is often inconsistent.
Existing infrastructure
Note the location of all underground utilities, irrigation lines, drainage pipes, and overhead wires. Mark them before digging anything. Ontario One Call (811) provides free utility locates. Never plant trees within 3 metres of buried water or gas lines — roots follow moisture.
Soil type and pH
Most of the GTA has clay-heavy soil that drains slowly and compacts easily. Clay soil isn't a death sentence for landscape plants — many thrive in it — but it affects what you plant and where. A $20 soil test tells you pH (aim for 6.0–7.0 for most landscape plants) and which nutrients are deficient. Test before you amend — you might not need to.
Step 2 — Define Your Zones: Function Before Plants
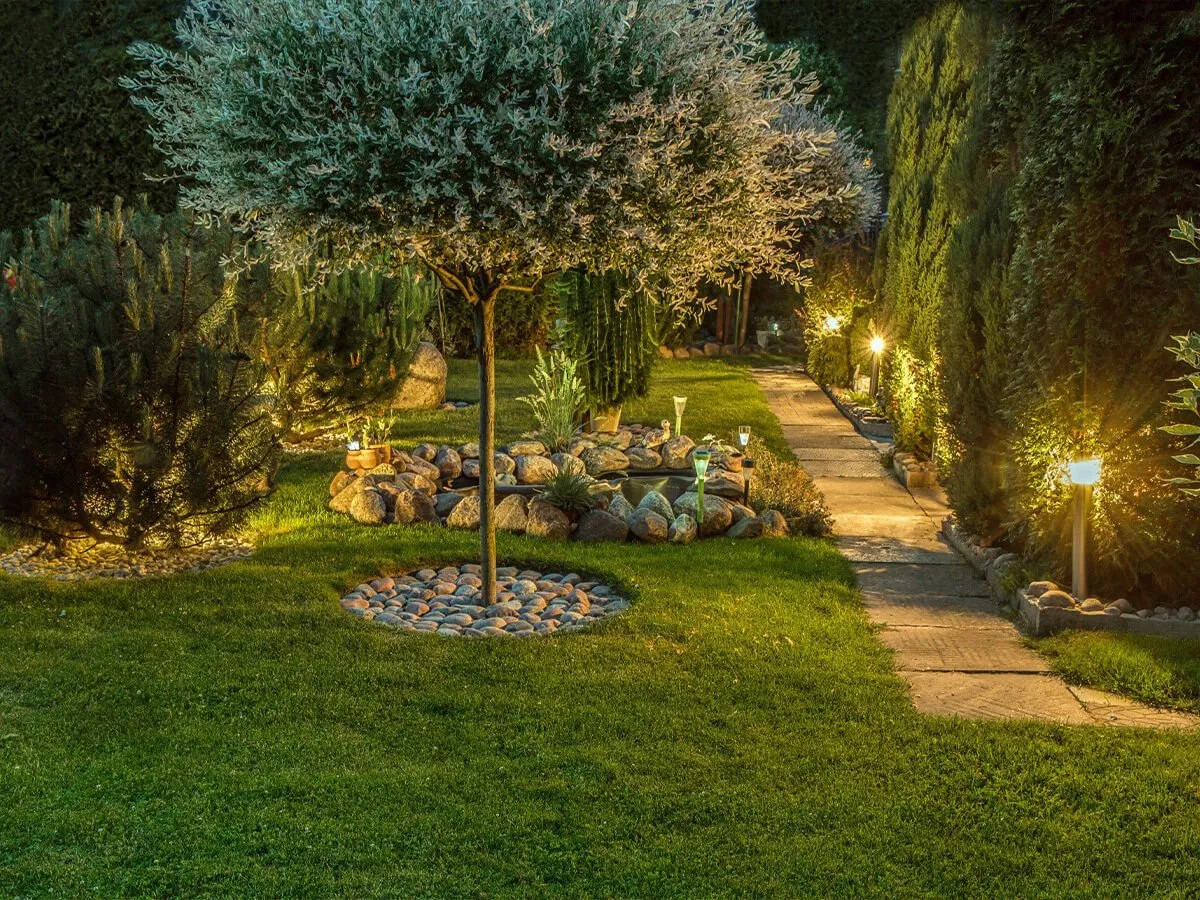
Before choosing a single plant, define how each area of your yard needs to function. Zones typically fall into these categories:
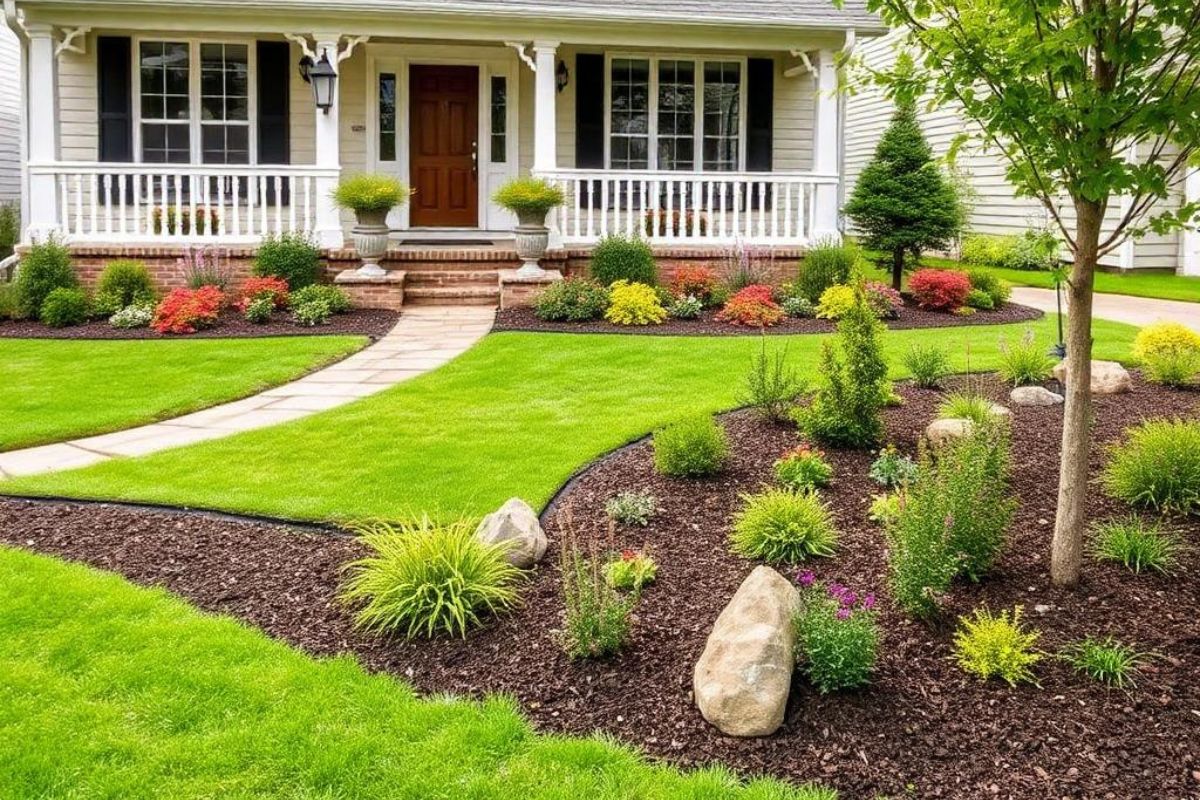
- Entry/curb appeal zone: Front yard visible from street — prioritize structure and year-round visual interest
- Entertaining zone: Patio, deck area — shade, privacy screening, and easy-care plantings around the perimeter
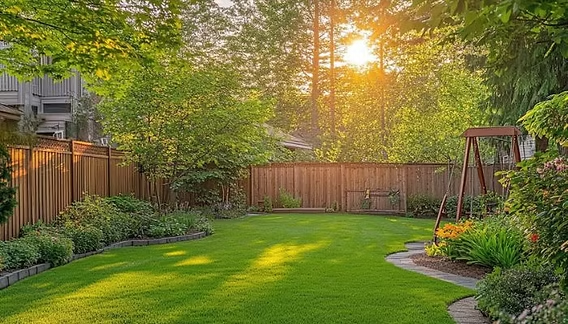
- Play/utility zone: Lawn for kids/pets, garden shed access, utility equipment — keep this open and functional
- Privacy zone: Along property lines where screening from neighbours is desired
- Transition zones: The areas that connect other zones — often where paths and mixed plantings go
Once you've defined the zones, you know what each planting needs to do. A privacy zone needs height and density — probably evergreen shrubs or cedars. An entry zone needs year-round structure — probably a mix of evergreen anchors and seasonal colour. Start with the purpose, then find plants that serve it.
Step 3 — Apply These Five Design Principles
Layer the planting
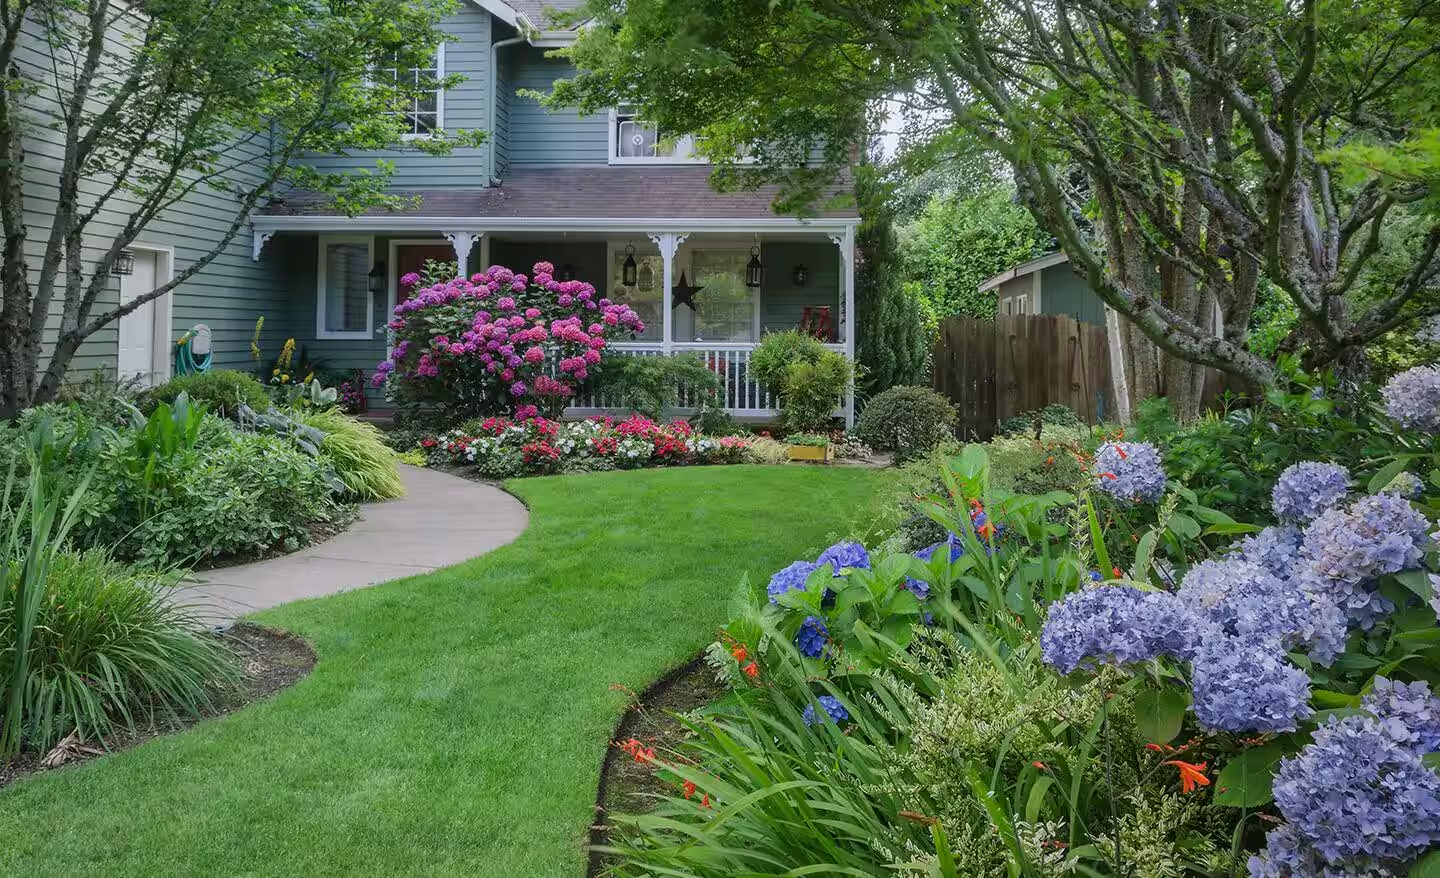
Great landscapes read as layered, not flat. The layers are: canopy trees (if space allows), understory shrubs (4–8 feet), mid-level plants (2–4 feet), groundcover and perennials (under 2 feet), and hardscape surfaces. A single bed that goes: mulch → one type of shrub → foundation of house is missing most of the layers. Add a groundcover in front of the shrubs, and the whole thing reads as more intentional.
Use repetition and rhythm
Repeat the same plant (or same type of plant) in groupings of 3, 5, or 7 at intervals through a bed or across the yard. This creates a visual thread that makes the design feel cohesive rather than like a collection of individual plants. One Japanese maple in the front yard is a specimen. Three Japanese maples — varied in size, positioned deliberately — is a landscape statement.
Design for every season
A landscape that looks spectacular in June and dead from November to April is a half-finished design. Ontario has six months of visible dormant season. Include: evergreens for winter structure, trees with interesting bark or form for winter, plants with ornamental seed heads that persist into winter (ornamental grasses, coneflower), and early spring bloomers (forsythia, hellebores) for the gap between snow and summer.
Create focal points
Every space needs at least one deliberate focal point — something your eye goes to first. This can be a specimen tree, a piece of garden art, a water feature, a large ornamental grass, or a bold plant combination. Without a focal point, the eye wanders and the space reads as random. With one strong anchor, everything else organizes around it.
Respect mature size
The number one mistake in residential landscape design: planting shrubs and trees based on how they look at the nursery, not at maturity. A cedar that looks perfect at 3 feet will be 15 feet in 10 years. Check the mature size on every plant before you put it in the ground, especially near foundations, utility lines, and property lines.
Step 4 — Plant Selection for Ontario's Climate
Most of the GTA is in USDA Hardiness Zone 6a–6b. What this means practically:
- Minimum winter temperatures around -20°C to -23°C
- Anything rated Zone 7 or higher is a gamble — protect or replace annually
- Spring comes late (last frost typically mid-April to early May in Richmond Hill/Vaughan area)
- Summer is humid — choose disease-resistant varieties for roses and other fungal-susceptible plants
Reliable Ontario landscape performers that are worth knowing:
- Trees: Sugar maple, red oak, serviceberry, white birch, crabapple, ornamental pear
- Evergreen shrubs: Cedar (Thuja occidentalis), boxwood (Zone 5+ varieties), yew (Taxus), Korean pine
- Deciduous shrubs: Potentilla, spirea, ninebark, viburnum, lilac, snowball bush
- Perennials: Black-eyed Susan, coneflower, hosta (shade), astilbe (part shade), Russian sage, daylily
- Grasses: Karl Foerster feather reed grass, blue oat grass, prairie dropseed
Step 5 — Hardscape: Paths, Patios, and Edging
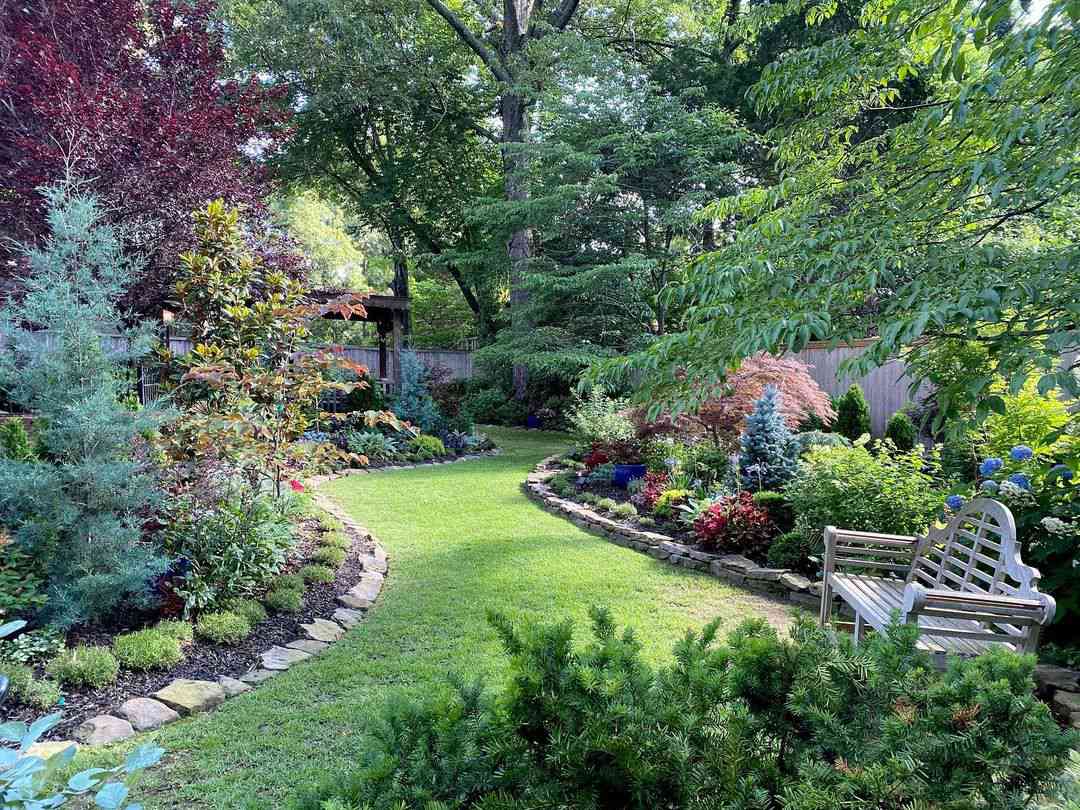
Hardscape is the skeleton of the landscape — it stays visible year-round and provides structure when plants are dormant. Get this right before you worry about plant selection. A well-designed path through a simple planting beats a beautiful plant selection with no structure.
For paths, the key decisions are: material (interlock, flagstone, gravel, stepping stone), width (minimum 36 inches for a functional garden path), and line (curves should be gentle and purposeful, not random). Paths should lead somewhere — to a focal point, to a secondary seating area, to the back gate.
For patios, size matters more than material. Most residential patios are undersized — the standard recommendation is 12 x 12 feet minimum for 4 people. Larger is almost always better; patio furniture takes up more room than it looks like in the showroom.
Designing in Phases: The Smart Way for Most Budgets
A full landscape redesign is expensive all at once. Phased implementation — designed as a whole but built in sections — is how most successful residential landscapes actually get done. A typical 3-year phase plan:
- Year 1: Site prep, hardscape installation, tree placement (these are the longest-term investments)
- Year 2: Foundational shrubs and evergreens, primary bed edging
- Year 3: Perennials, groundcover, detailed planting refinements
Starting with hardscape and trees means you're building toward a finished design while the expensive structural elements have years to establish. Starting with perennials and annual colour means the first year looks great and years 2–10 are trying to catch up.
Frequently Asked Questions
Ready to Start Your Landscape Project?
We handle front and back yard landscaping across Richmond Hill, Vaughan, and Markham — from initial cleanup to full bed installation.
- University of Minnesota Extension: Yard & Garden — plant selection and design resources for northern landscapes
- Landscape Design — Wikipedia — principles and methodology of landscape design