Every spring, someone is loading a flatbed cart at a garden centre with more landscaping ambition than a single weekend can realistically contain. This is not a problem — it's how most of the best residential yards got built. This guide covers which DIY projects genuinely reward the effort, which ones require more care than they look, and the few where hiring a professional is quietly the better financial decision.
The decision framework
Projects involving soil, plants, mulch, and simple edging are excellent DIY territory. Projects involving drainage, retaining walls over 60 cm, large tree removal, or significant grade changes are where mistakes get expensive. Know the difference before starting.
DIY Landscaping Ideas That Make the Most Visual Difference
1. Redefine and Refresh All Bed Edges
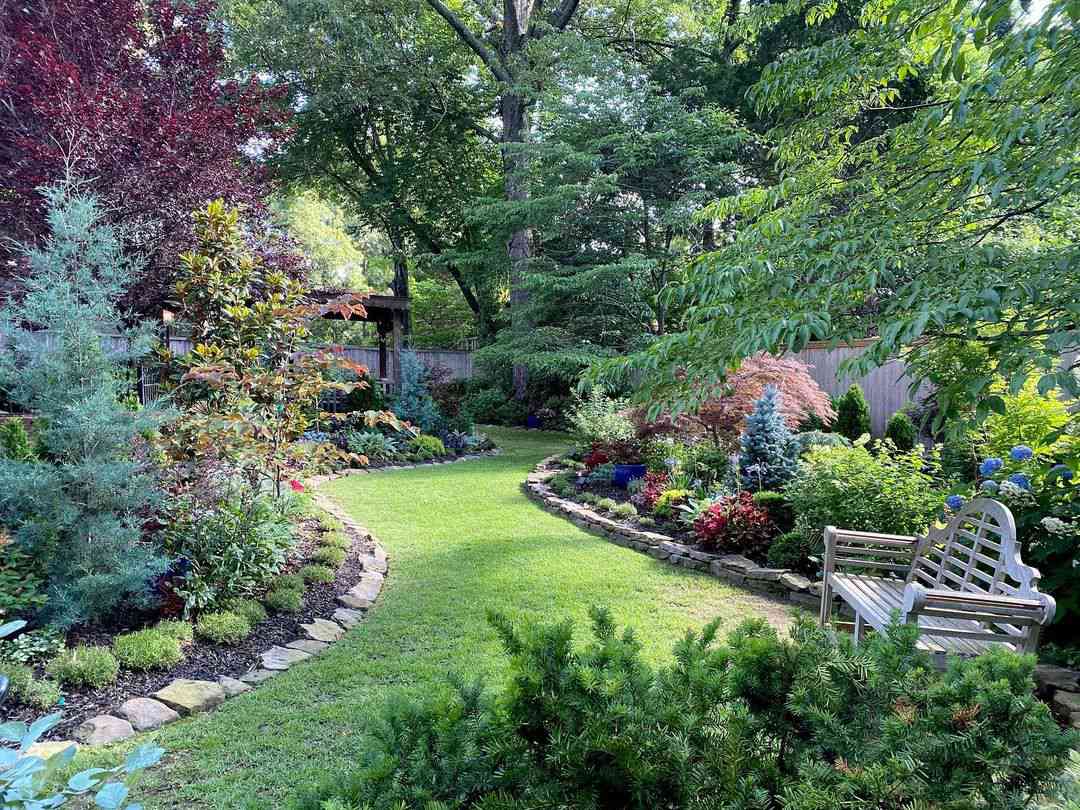
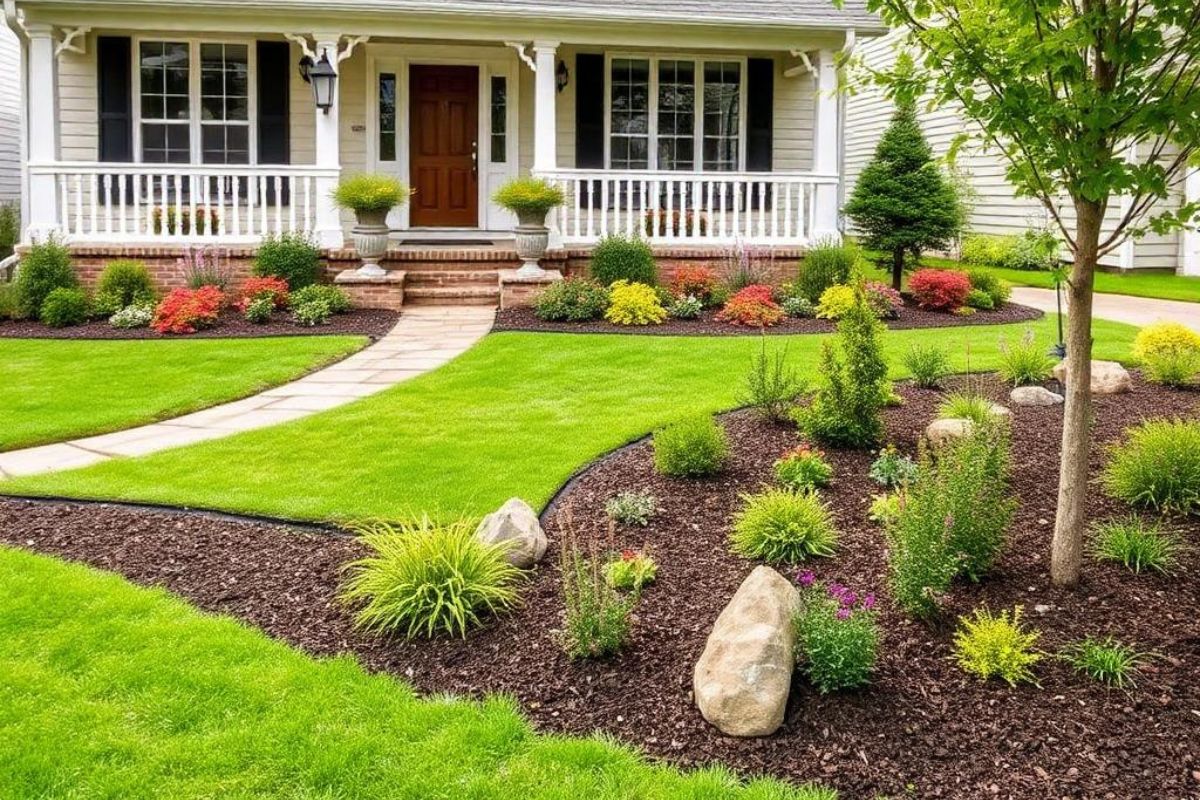
Nothing improves a property's appearance faster than clean, sharp bed edges. The difference between raggedly overgrown lawn edges and a properly defined cut trench is dramatic — it makes the entire property look more deliberate and maintained, even if nothing else has changed.
Use a half-moon edger or spade to cut a fresh trench between the lawn and each garden bed. For established curves, re-cut the same line with purpose. For beds with no defined edge, use a garden hose to lay out a natural curve, mark it with spray paint (upside-down marking paint from any hardware store), then cut along the marked line.
Cost: a half-moon edger ($30–50) plus an afternoon. Impact: high. This is one of the best-value DIY projects on any property.
2. Add or Refresh Mulch
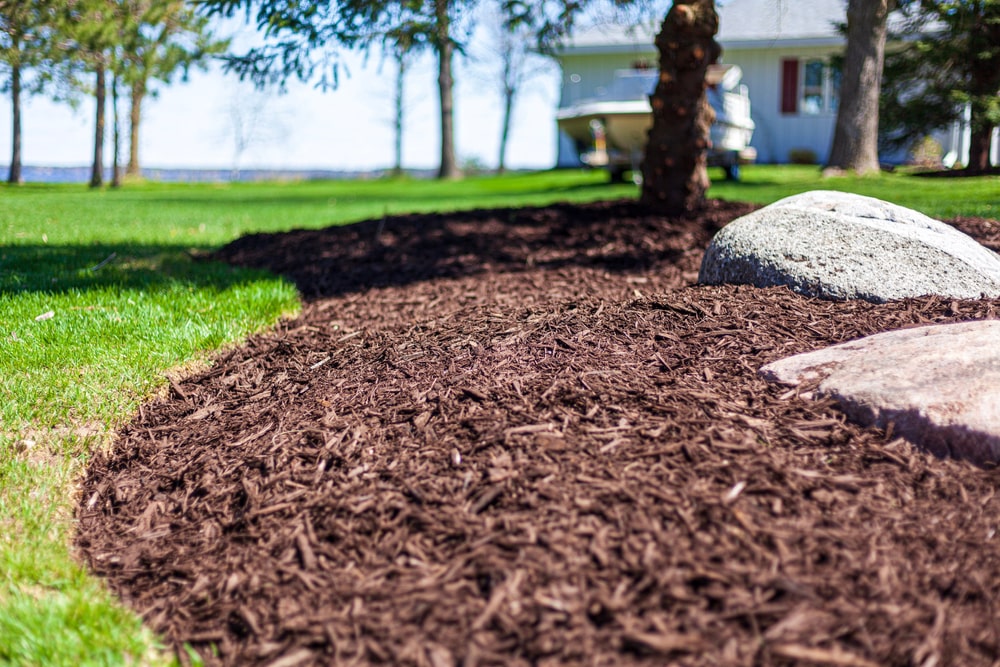
Fresh mulch in existing beds at the correct depth (2–3 inches) is the second-fastest visual improvement available. It unifies the beds, suppresses weeds, and signals maintenance. When combined with clean edges, the combination is striking.
For most Ontario residential properties, ordering mulch delivered by the cubic yard from a local landscape supplier is more cost-effective than buying bags. One cubic yard covers approximately 100 square feet at 3 inches deep. Have the delivery driver place it as close to the beds as possible to minimize wheelbarrowing distance.
See the mulch installation guide for depth, coverage calculation, and application technique.
3. Install Metal Lawn Edging
Cor-Ten steel or black aluminum edging installed between beds and lawn is a weekend project that pays off for years. It eliminates the annual re-cutting of bed edges, gives a professional-looking separation, and reduces the rate of lawn encroachment into beds. Black aluminum edging is the most DIY-friendly — it comes in flexible rolls that bend easily to curves, stakes into the ground, and connects with simple clips.
The key installation detail: set the edging so the top lip sits slightly above soil level on the lawn side, flush or just below soil level on the bed side. This allows mower wheels to run along it without the blade hitting the top of the edging.
4. Plant a Simple Perennial Border
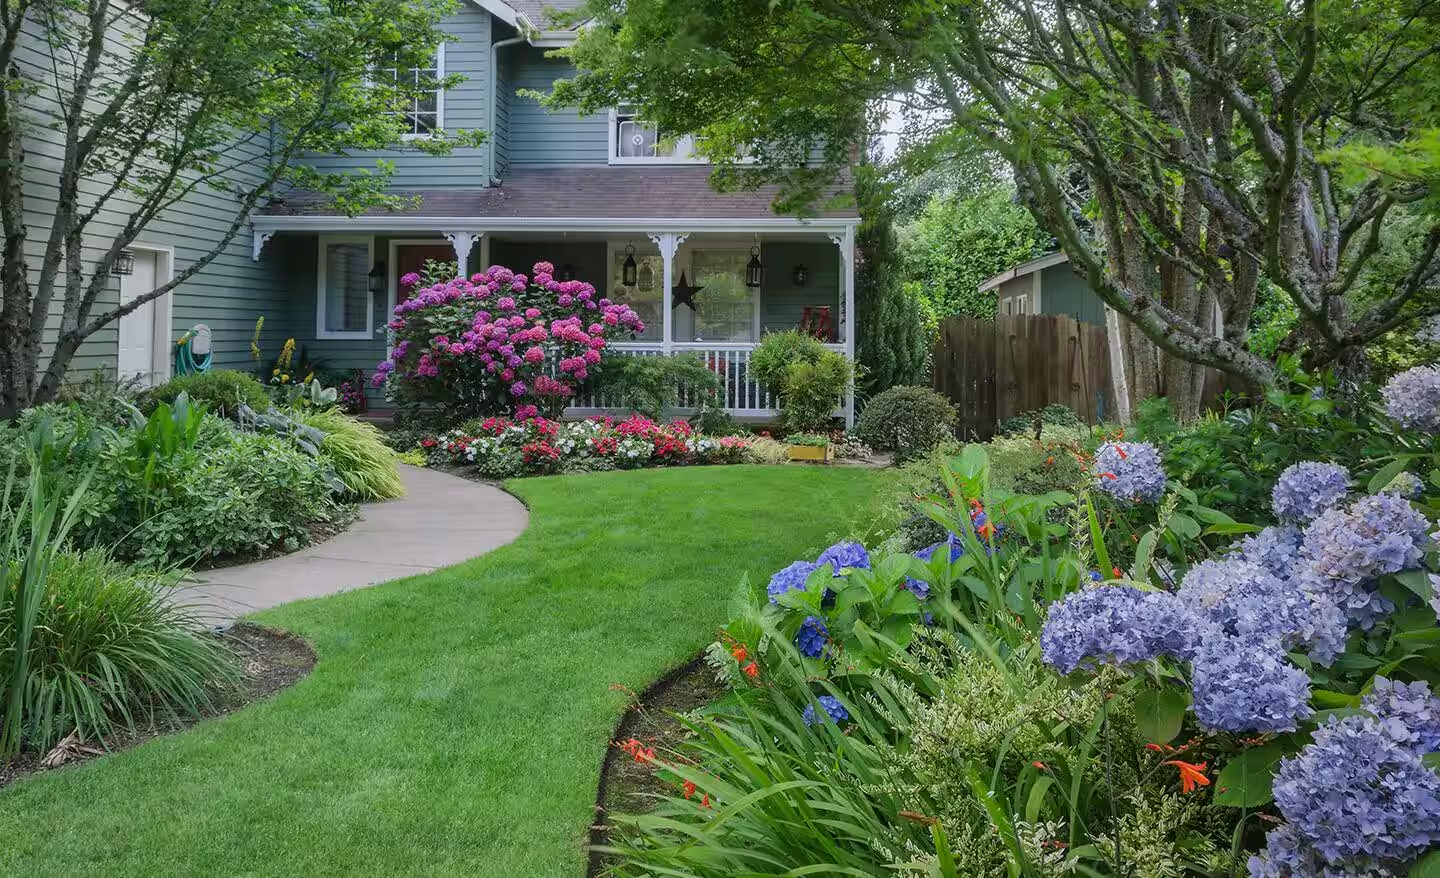
A perennial border — a planted bed of perennials rather than annuals or shrubs — is the highest-return low-maintenance planting project available. Plant once, let it establish over 2 to 3 seasons, and it largely takes care of itself with minimal ongoing input.
The key to a successful DIY perennial border in Ontario:
- Match plants to the actual light conditions (measure hours of direct sun, don't guess)
- Group in odd numbers (3, 5, or 7 of the same plant) for visual mass
- Plan for three seasons: spring bloomers, summer bloomers, fall interest
- Leave room — most perennials double or triple in spread over 3 years. Resist the urge to over-plant
- Mulch immediately after planting at 2 to 3 inches to suppress weeds while plants establish
Reliable, easy-care perennials for Ontario full sun: rudbeckia, echinacea (coneflower), salvia, Russian sage, and ornamental grasses. For part shade: astilbe, hostas, heuchera, and bleeding heart.
5. Add a Simple Garden Path
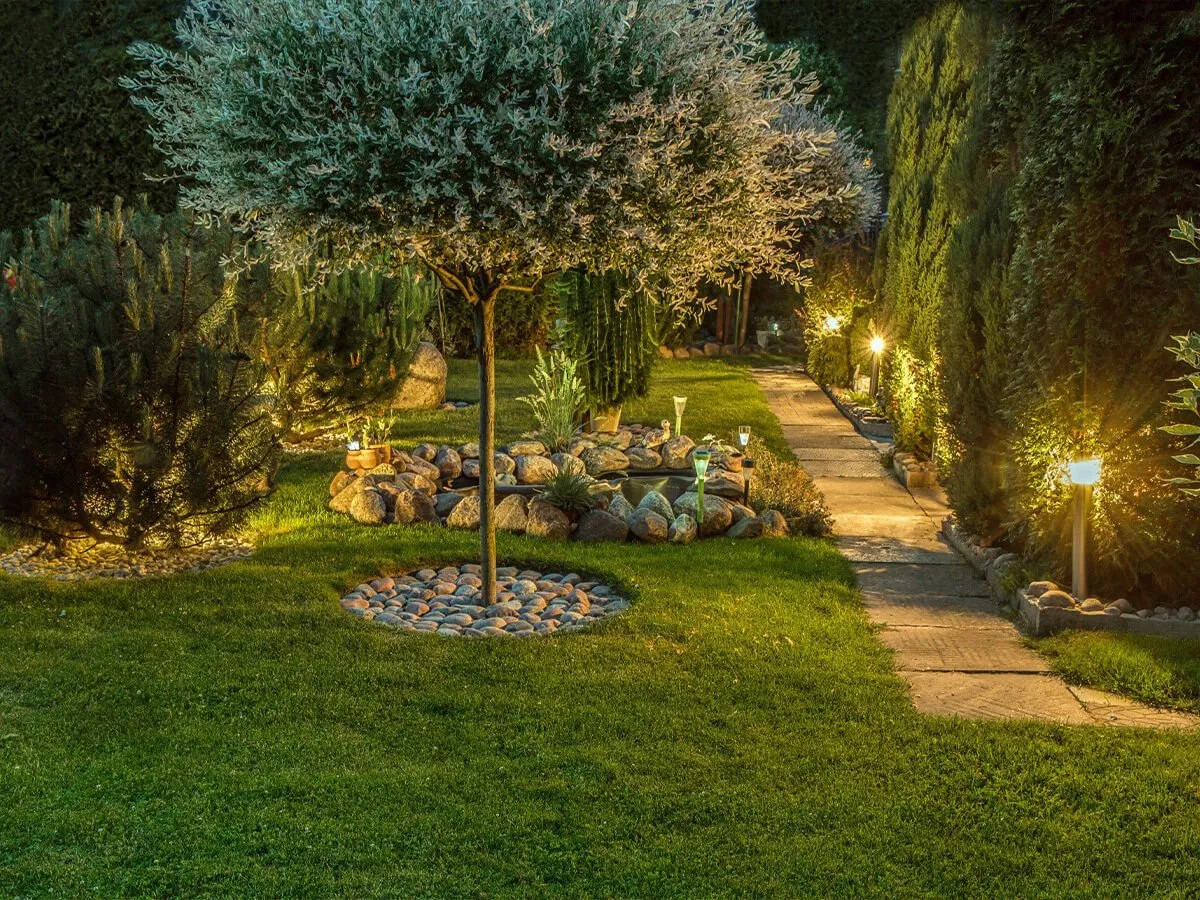
A stepping stone or gravel path through a garden area is achievable in a weekend and significantly improves functionality and appearance. It solves the problem of worn grass channels (where people repeatedly walk across a lawn), provides intentional access to back gardens, and creates a design feature.
DIY path options, from simplest to more involved:
- Stepping stones in grass: Place large flat stones (at least 45 cm across) on the lawn surface spaced for a natural stride. Lift each stone, cut the outline with a half-moon edger, remove the turf, lower the stone so the top surface sits level with the grass. Backfill with sand to stabilize.
- Gravel path: Mark the path outline with garden hose, excavate 10 cm, lay landscape fabric (useful here, unlike under mulch), add 2 cm of coarse sand, fill to just below grade with pea gravel or crushed granite. Add aluminum edging to contain the gravel.
- Flagstone path: As above but with larger irregular flagstone pieces set in sand or dry mortar. More material cost, similar effort to gravel, better longevity and aesthetic.
6. Ornamental Grass Mass Planting
A mass planting of 3 to 7 ornamental grasses in a sunny border is one of the most low-maintenance long-term plantings available in Ontario. Once established, ornamental grasses require only an annual spring cut-back (one afternoon per year). They provide four seasons of interest: fresh green growth in spring, full lush presence in summer, beautiful seed heads and movement in fall, and skeletal structure in winter.
For a DIY installation: prepare the bed by removing sod, amend with compost if soil is clay-heavy, plant at correct spacing (check the mature spread on the label — miscanthus needs 90–120 cm spacing), mulch immediately. Water weekly for the first summer. After that, let them establish.
DIY Projects That Require More Care
Small Retaining Walls (Under 60 cm)
A single-course dry-stacked stone or interlocking block retaining wall under 60 cm is achievable with basic DIY skills and attention to base preparation. The non-negotiable: proper base preparation. Excavate at least 10–15 cm below the finished grade, fill with compacted crushed stone, and ensure the base course is perfectly level. A wall built on improperly prepared base will shift and settle within 2–3 Ontario freeze-thaw cycles.
Walls over 60 cm require proper drainage planning, structural calculation, and (in most Ontario municipalities) a building permit. Don't attempt these as a weekend project.
Sod Installation
Laying sod is physically demanding but technically straightforward: grade the area, add topsoil if needed, roll and water. The difficulty is in the site preparation — removing existing vegetation, renting a sod cutter or tiller, properly grading to drain away from the house, and levelling the entire area before laying. Undersized topsoil depth (under 10 cm) is the most common mistake. Sod laid on 5 cm of topsoil over compacted subgrade will struggle within two years.
What to Leave to the Professionals
Some projects are consistently better handled by a professional landscape company, not because the technique is beyond most homeowners, but because the equipment access, liability exposure, or risk of costly mistakes makes the economics decisively in favour of hiring:
- Retaining walls over 60–90 cm: Structural calculations, permits, drainage systems, and excavation equipment
- Drainage grading: Getting grade wrong by even 1–2% in the wrong direction can direct water toward the foundation. This requires laser level equipment and experience to get right.
- Large tree removal: Liability, equipment, and technique — falling trees in residential settings are high-risk for property damage.
- Large-scale softscape installation (full property replanting): We'll be direct — this one almost never goes as planned for DIY. The time and physical labour involved in a complete front or backyard installation is underestimated by almost every homeowner attempting it. What looks like a 2-day project routinely becomes 3 to 4 weekends, and the finishing quality — plant spacing, density, edge definition — rarely matches what a professional crew produces. It's not a skills gap. It's scale, equipment, and the muscle memory of doing it every day.
The Hybrid Approach: What Works Best
The most effective strategy for most Ontario homeowners is a hybrid model: DIY the high-effort, low-skill-barrier tasks (mulching, edging, perennial planting) and hire professionals for the tasks where equipment, expertise, or scale creates a meaningful quality difference (hardscape installation, drainage, large tree work, full property design).
A professional landscape consultation — even a single paid hour — can identify which elements of a design plan are DIY-friendly and which aren't. The cost of getting a second opinion on scope before starting is always less than the cost of undoing a structural problem.
Frequently Asked Questions
Redefining bed edges and applying fresh mulch. Together, they take one to two days on a typical Ontario residential property, cost $200–500 in materials (primarily mulch), and produce a transformation that's visually dramatic. No special skills required — just a half-moon edger, a wheelbarrow, and some physical labour.
A small patio (under 20 square metres) is achievable as a DIY project with proper research and preparation. The critical steps are excavation to the right depth (typically 30–35 cm total for the base, sand layer, and paver), proper base compaction, and perfect level of the sand bed before laying pavers. Mistakes in base preparation lead to settling and heaving. Watch detailed installation videos before starting, rent a plate compactor (don't skip this), and allow more time than you think.
Cut the shrub back as far as possible with loppers first. Then use a sharp spade to cut around the root ball perimeter, 30–40 cm from the main stems, severing lateral roots. Lever the root ball out, cut any remaining roots holding it. Large, established shrubs (forsythia, lilac, burning bush) may require a reciprocating saw for roots or renting a stump grinder for the remnants. For anything over about 30 cm trunk diameter, professional removal is usually faster and cheaper than the DIY equipment rental cost.
For anything beyond a single bed or small project, yes. A landscape design consultation (typically $150–300 for a residential property assessment) prevents the most common and expensive DIY mistake: installing elements that need to be moved, removed, or changed once you see how they interact with the rest of the property. If you're considering significant investment in hardscape or planting, a consultation pays for itself many times over.
- University of Minnesota Extension: Yard & Garden — DIY plant and landscape guides for northern climates
- Landscape Design — Wikipedia — fundamentals of landscape design and planning
Not Sure What to DIY and What to Hire Out?
A&E Lawn Care offers free quotes on all landscaping projects in Richmond Hill, Vaughan, Markham, and Aurora. We'll tell you honestly what's DIY-friendly and what isn't.