Your lawn is thin, spongy underfoot, and doesn't respond to watering or fertilizing the way it should. You've tried everything on the surface and nothing works. Chances are the problem isn't on the surface at all — it's in the layer below the green, called thatch: old grass stems, roots, and organic debris that builds up between the soil and the living blades above it.
A thin thatch layer (under ½ inch) is actually useful — it insulates the soil and reduces moisture loss. Once it gets past ½ to ¾ inch, though, it becomes a barrier. Water can't get through. Nutrients bounce off. Roots start living in the thatch instead of the soil below, which leaves them vulnerable to drought, disease, and temperature stress. That's when lawn dethatching becomes necessary — and surprisingly satisfying.
- Thatch over ½ inch thick needs to be removed.
- The best time to dethatch is early fall (September) for Ontario cool-season grasses.
- A power rake (mechanical dethatcher) is more effective than manual raking for heavy thatch.
- Always dethatch before aerating — clearing thatch first lets aerator tines penetrate better.
- Overseed and fertilize immediately after for a faster recovery.
What Is Lawn Thatch?
Thatch is not just clippings left on the lawn after mowing — this misconception is worth killing right away. Grass clippings are mostly water and break down quickly (grasscycling is actually beneficial). True thatch is made of stems, stolons, rhizomes, and roots that decompose very slowly. It accumulates when organic matter builds up faster than soil microbes can process it.
Factors that speed up thatch accumulation include:
- High nitrogen fertilization (fast top growth creates more stem material)
- Infrequent mowing (grass becomes stemmy rather than leafy)
- Acidic soil pH (slows microbial decomposition)
- Overwatering (surface roots proliferate instead of growing deep)
- Certain grass varieties — Kentucky bluegrass and creeping bentgrass are heavy thatch producers
How to Check Thatch Depth
Cut a small wedge of turf (2–3 inches deep) with a knife or trowel and pull it out. Look at the cross-section: green blades at top, then a brownish-tan fibrous layer (thatch), then soil below. Measure the thatch layer with a ruler. Under ½ inch: fine. ½–¾ inch: borderline — keep monitoring. Over ¾ inch: dethatch this season, no debate.
We had a client in Richmond Hill hire us to aerate after years of struggling to grow grass. When we pulled the first plugs, they were almost entirely thatch — barely any soil at all. They'd been watering and fertilizing a 4-inch mat of dead organic matter for three years. After we dethatched and overseeded, the lawn was unrecognizable by the following fall. The thatch was never part of the diagnosis until we showed it to them.
When to Dethatch Your Lawn in Ontario
Timing is critical because dethatching is aggressive — it temporarily stresses the turf. You need to dethatch when the grass is actively growing so it recovers quickly.
Best Time: Early Fall (Late August – September)
For the cool-season grasses common in Ontario (Kentucky bluegrass, fescue, perennial ryegrass), early fall is ideal. The soil is warm, the days are cooling, and fall rains are coming. This timing also aligns perfectly with overseeding — a bare, freshly-dethatched lawn is one of the best possible seedbeds.
Spring Dethatching
Early spring (May, after the last frost) is a secondary window. Spring dethatching works, but watch out: disturbing the soil surface in spring creates prime real estate for crabgrass and other summer weeds. If you use a pre-emergent herbicide in spring, do not dethatch — you'll break the chemical barrier it creates.
Avoid These Timing Mistakes
- Mid-summer: heat-stressed grass can't recover after aggressive dethatching.
- During drought: dethatching stressed, dry grass causes serious damage.
- After herbicide application: wait 4–6 weeks before dethatching so the treatment has time to work.
Dethatching vs. Aerating: What's the Difference?
These two are the most commonly confused lawn care tasks — and mixing them up wastes an entire season. They solve different problems at different layers:
- Dethatching removes the organic matter layer sitting above the soil surface. It uses mechanical combing or raking to physically pull thatch out of the lawn.
- Aeration works below the soil surface, pulling plugs of compacted soil to improve drainage, gas exchange, and root growth.
Both are often needed together, especially for lawns that haven't been maintained in a while. The sequence matters: dethatch first, then aerate. Clearing the thatch layer allows aerator tines to penetrate the soil more deeply and effectively.
For lawns in Richmond Hill and the GTA that need serious restoration:
- Mow short (2–2.5 inches)
- Dethatch (power rake)
- Rake and remove debris
- Core aerate (two perpendicular passes)
- Topdress with compost (optional)
- Overseed
- Starter fertilizer
- Water daily until germination
How to Dethatch Your Lawn: Step-by-Step
Choose Your Method
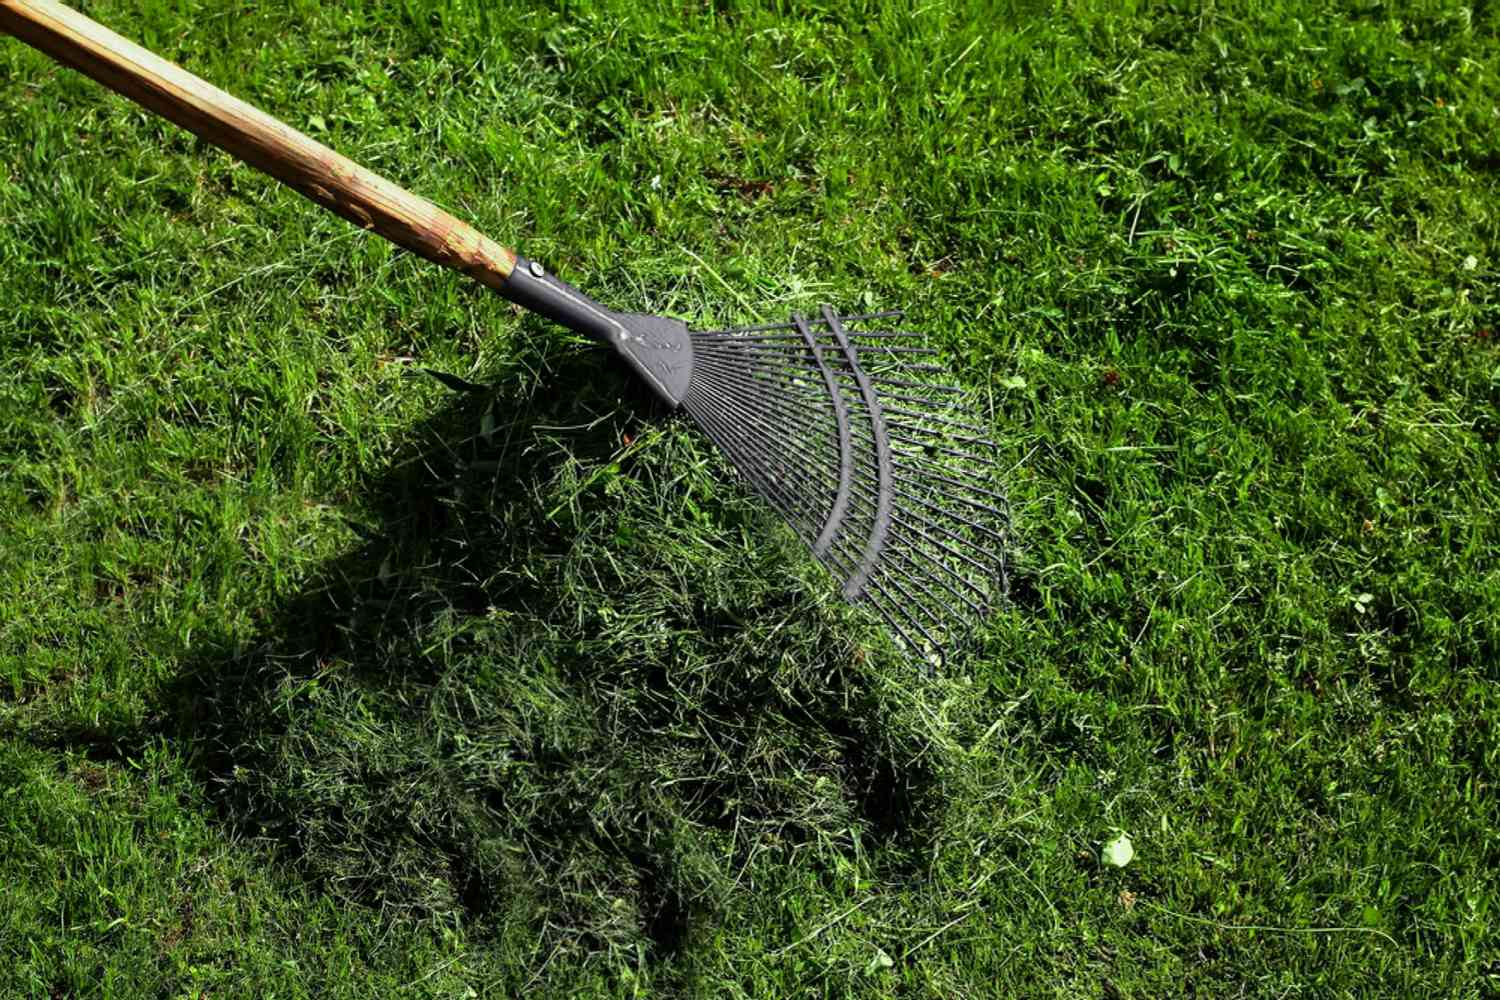
Hand raking — a stiff-tined lawn rake works for small areas (under 1,500 sq ft) with mild thatch (under ¾ inch). It's slow and labor-intensive but requires no equipment.
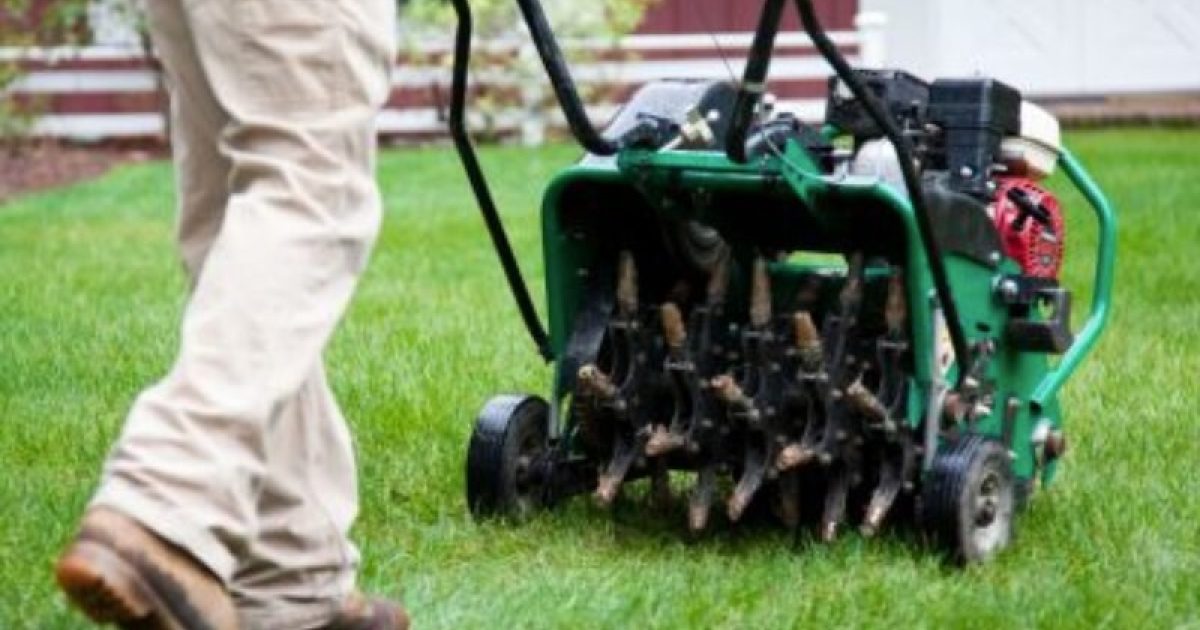
Power rake (mechanical dethatcher) — a gas or electric machine with spinning vertical blades that comb through the turf, physically ripping thatch out. This is the right tool for most Ontario homeowners with moderate to heavy thatch. Rentals are available at most home improvement stores.
Dethatching attachment for riding mower — a flail dethatcher towed behind a riding mower. Efficient for large properties but requires good technique to avoid scalping the lawn.
Step 1 — Mow Short
Mow the lawn to 1.5–2 inches — lower than your normal cut height. This allows the dethatcher tines to reach the thatch layer without having to fight through tall grass.
Step 2 — Water If Dry
The soil should be moist but not saturated. Dry, hard ground makes it harder for the dethatcher to dig in. If it hasn't rained, water lightly the day before.
Step 3 — Make Two Passes
Run the dethatcher in straight, slightly overlapping passes. For heavy thatch, make a second pass perpendicular to the first. The machine will pull up significant material — this is normal and expected.
Step 4 — Rake and Remove
Rake up and remove all the thatch material the dethatcher pulled out. This is often the most laborious part — a heavily thatched 4,000 sq ft lawn can produce several bags of debris. Compost it or dispose of it; don't leave it on the lawn.
Step 5 — Aerate, Overseed, Fertilize
Follow immediately with core aeration and overseeding. The freshly-cleared, aerated surface is one of the best seedbeds possible. Germination rates are significantly higher than seeding onto an undisturbed lawn.
Lawn Recovery After Dethatching
Your lawn will look rough — scraggly, patchy, brown in spots — for 2–4 weeks after aggressive dethatching. This is completely normal and expected. You've essentially done surgery on the turf and it needs recovery time. The mistake most homeowners make is panicking, overwatering, and not giving it space to fill back in on its own.
To speed recovery:
- Water consistently — 1 inch per week minimum, more if you've overseeded.
- Fertilize with a starter blend — phosphorus supports new root development.
- Stay off the lawn for 2–3 weeks if possible.
- Don't mow too soon — wait until new grass reaches 3–3.5 inches before the first post-dethatching cut.
Frequently Asked Questions
- University of Minnesota Extension: Lawns & Landscapes — thatch management guidelines for cool-season turf
- Lawn — Wikipedia — lawn grass biology including thatch formation and management
Professional Dethatching & Aeration in Richmond Hill
A&E Lawn Care provides complete fall lawn renovation services — dethatching, aeration, overseeding, and fertilization — in a single visit. Serving Richmond Hill, Vaughan, and Markham.